
In this tutorial, we would upload an image from an Android app to the Firebase cloud storage and add the path of the uploaded image (along with other records) to firestore.
Prerequisites
In order to follow this quick tutorial, it’s important to have created a firebase project and synced that project with your already existing android project. If you haven’t, you can follow this guide and come back after.
Uploading an image to Firebase cloud storage
There are two ways that one could go about this.
- Selecting a picture from the gallery and uploading to cloud storage
- Taking a picture and uploading to cloud storage
Selecting a picture from the gallery and uploading to cloud storage
- Create a new blank activity (e.g. GalleryActivity). This would give you a
GalleryActivity.ktfile and anactivity_gallery.xmlfile. - In the xml file, create an
ImageViewand two Buttons like this. (The ImageView is to preview the selected image). The first button would be used to open the gallery while the second would upload the image to firebase.
3. Check your AndroidManifest.xml and see that the permissions set are similar to these
The important line here is <uses-permission android:name="android.permission.INTERNET" /> because we would be needing internet access for this application.
4. It’s now time to write some Kotlin code. First, go to your GalleryActivity.kt and declare these variables
The PICK_IMAGE_REQUEST will be the code used when we launch the intent, the filePath variable will hold the Uri (android.net.Uri) of the image to be uploaded and as the names imply, firebaseStore will hold an instance to the FirebaseStorage and storageReference would hold a reference to the FirebaseStorage instance.
Next, in the onCreate method, we need to assign the instance and reference of the firebase storage. We would add click listeners to our buttons in our onCreate method as well.
Right now, we have not defined these methods launchGallery() and uploadImage() so let’s go ahead and do that.
In the launchGallery() method, we use implicit intents to launch our gallery so that we can select a picture. Remember the PICK_IMAGE_REQUEST constant, we would need it in our next phase to verify what intent our result is coming from.
Now, we have written the code for the “Choose Image” button and when we click on it, the gallery opens. It’s time to code what happens once we choose a picture.
In this code snippet, there are so many things to look out for.
- We have to override
onActivityResultbecause this is where the action that takes place after someone chooses an image should be (previewing the selected image) - We need to check if the requestCode returned in
onActivityResultis the same as the code sent instartActivityForResult - We also need to be sure that the operation was successful. This is done by checking
resultCode == Activity.RESULT_OK - Next, if the gallery didn’t return any data (image), break out of the method and don’t do anything
- If data was returned, save in the filePath variable declared at the top of the class
- Lastly, set the imageview to show the value of
filePath
At this point, we can now select an image from our gallery and preview the results in our imageview.

Q: Now what’s next?
A: Uploading our image to the firebase storage.
Uploading our image to Firebase cloud storage
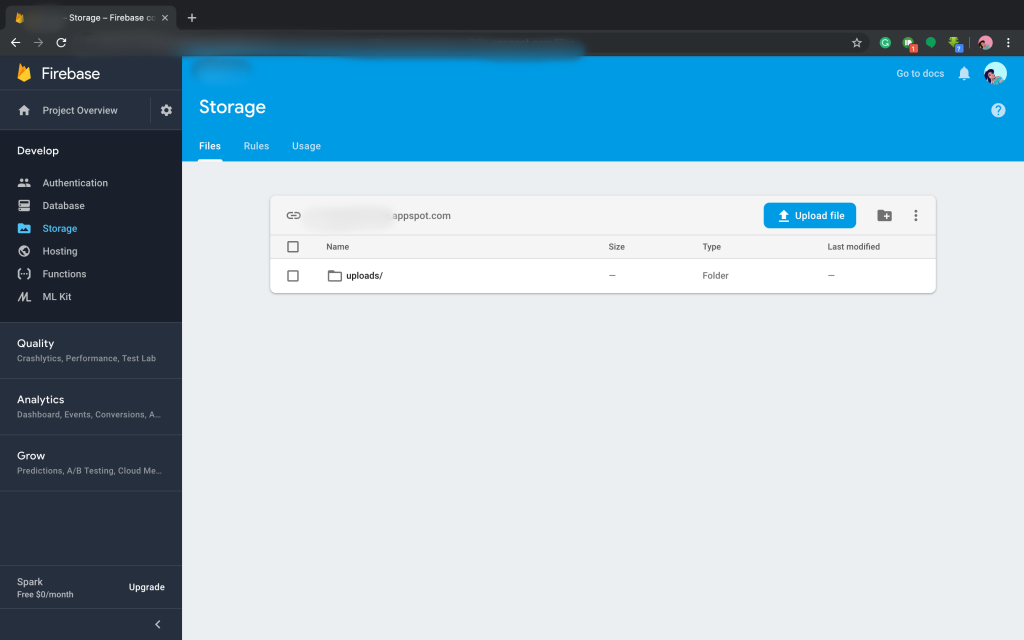
The first thing we need to do is go to our firebase storage and create an uploads/ directory. All the images we upload will be saved here.
Remember the uploadImage() method we created? It’s time to code.
In this code snippet, there are so many things to look out for.
- We have to be sure that
filePathhas a value already assigned to it. (This happens inonActivityResult). If there’s a value, the upload process continues. If not, a toast message “Please Upload an Image” is shown. - In lines 3 we create a reference to a file in
uploads/{RANDOM_STRING}and in lines 4, we put the values offilePathin the reference. - From line 6, the goal is to continue the task and return the Url of the uploaded image so that we can upload that in firestore
- Run your application, image upload now works.
Adding record to Firestore
Now, we can upload our image to the cloud storage, we still need to be able to store the link in cloud firestore so that we can retrieve records and render images later.
From the previous snippet, line 16 has a method addUploadRecordToDb(uri: String) that does not exist yet. We would be creating this method in this section.
In the snippet above, we are creating a firestore instance and adding our data to our “posts” collection (line 7). To learn more about queries in firestore, click here.
The full GalleryActivity.kt can be found below:
Conclusion
Now you know how to upload an image from a gallery to firebase storage in Kotlin. In order to reduce the length of this article, the tutorial for taking pictures and uploading them to firebase would be in a different article.
thx for the tutorial ^_^
You’re welcome 🙂
I need your help <3 plis
great tutorial, thanks